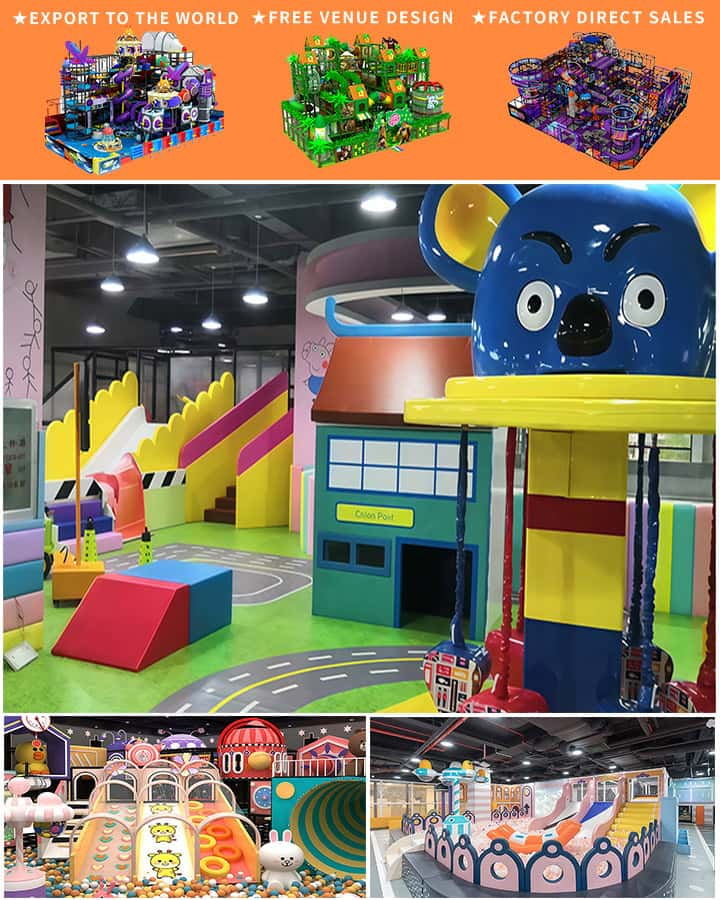
Creating a kids’ playground in your backyard is a fantastic way to provide endless hours of entertainment and exercise for your children. By opting for a DIY playground, you can tailor the design to suit your family’s needs and budget, ensuring a safe and enjoyable space that your kids will cherish. Whether you have a sprawling yard or a cozy garden, here are some steps and tips to help you build a DIY playground that will delight your children.
1. Planning Your DIY Playground
The first step in creating your DIY kids’ playground is careful planning. Consider the following aspects:
Safety First
Safety is paramount when constructing a playground. Ensure the area is free from obstacles like rocks, tree roots, and sharp edges. Soft landing surfaces such as rubber mats, wood chips, or sand are essential for preventing injuries. Make sure all structures are stable and securely anchored to prevent tipping or collapsing.
Space and Layout
Assess the available space and decide on the layout. If space is limited, consider vertical designs with climbing walls or multi-level play structures. Sketch out a rough plan or use online playground planner tools to visualize the arrangement. Remember to keep pathways clear and allow enough room for kids to move safely around the equipment.
Age-Appropriate Design
Tailor the playground to the ages of the children who will be using it. Toddlers might enjoy sandbox areas and small slides, while older kids may prefer climbing frames, swings, and zip lines. Incorporating elements suitable for various age groups ensures everyone stays entertained.
2. Gather Materials and Tools
Once you have a plan, gather the necessary materials and tools. Depending on your design, you might need:
- Wooden planks or pre-made lumber for structures

- Outdoor-grade screws, nails, and bolts
- Sandpaper and non-toxic paint or sealant
- Rope or chains for swings
- Soft landing materials (rubber mulch, sand, etc.)
- Basic tools like saws, drills, hammers, and measuring tapes
3. Building the Structures
With everything prepared, you can start building! Here are some popular DIY playground structures and how to create them:
Swings
For a classic swing set:
- Install two sturdy posts with concrete footings.
- Attach crossbars at the top to support the swings.
- Hang swings using strong ropes or chains, ensuring they are secure and at the correct height for safety.
Slides
Building a slide:
- Construct a platform at an appropriate height.
- Create the slide from plywood or plastic, ensuring smooth edges.
- Secure the slide at the top and angle it gently downward towards the landing area.
Climbing Walls
Climbing walls are both fun and great for developing motor skills:
- Build a frame and fill it with wooden blocks or purchase a pre-made climbing wall.
- Ensure blocks are securely fastened and vary in size for different grip challenges.
Sandboxes
Sandboxes encourage creativity and sensory play:
- Dig a shallow pit and line it with a weed barrier.
- Fill it with clean, fine sand and add toys like buckets and shovels.
- Optionally, cover it with a lid or netting to keep pets out.
4. Adding Finishing Touches
To complete your DIY playground:
- Paint or seal wooden structures to protect against weather.
- Add cushioning around the base of climbers and slides.
- Incorporate shade options like canopies or umbrellas for sunny days.
- Personalize with fun decorations or your child’s favorite themes.
Conclusion
Creating a DIY kids’ playground is a rewarding project that offers numerous benefits, from physical activity to imaginative play. By carefully planning, gathering the right materials, and following safety guidelines, you can build a delightful backyard oasis that provides joy and developmental opportunities for your children. So roll up your sleeves, get creative, and watch as your DIY playground becomes the centerpiece of family fun!


